Showing posts with label craftiness. Show all posts

Friday, October 04, 2013

FALLing in Love Friday: Knitting

This fall, I've decided to dedicate Friday blog posts to things I'm falling in love with, aka my current obsessions.

I started knitting back in 2009, thanks to my friend Heather, who was patient enough to teach me enough to get myself in trouble with yarn. Over the course of the next year, I knitted several scarves of various basic patterns. Upon moving to South Carolina, I put my knitting needles away. More complicated patterns and projects were too daunting, but the basic scarf, no matter how different the pattern, left me feeling uninspired.

Over the last couple of months, an overactive mind left me unable to enjoy my rare, beloved TV time. I needed a way to unwind, so I tried unwinding a ball of yarn. It was not at all "like riding a bike." It had been so long since I picked up a pair of knitting needles that my muscle memory was non-existent. I'm embarrassed to admit (so I won't) how many times I had to watch YouTube videos to get my hands to do a simple knit again, but after a while (a long while) I was knitting and purling as though I had been doing so all along. Despite some issues with newly developed carpal tunnel syndrome (BOO), I have once again fallen in love with this relaxing pastime...so much so that I am working on TWO completely different projects simultaneously!

Doesn't this fun yarn make you wonder?
I'll give you a sneak peek soon.

What have you fallen in love with this week?

Saturday, December 29, 2012

No Idle Hands Here!

Well, so much for getting back in the blogging groove... I did, however, get back into a crafty groove in the last few months.

I finally applied my beading skills to try my hand at jewelry making, crafting a Gator-themed bracelet for my SIL's birthday.


It took several tries to get the clasp right, but it was a good learning experience, and I was happy with the end result.

Next it was time to get my craft on for my friend's monkey-themed baby shower. First up was my novice attempt at making a diaper cake. Not to brag, but I think my first try came out looking great (thank you, Pinterest!).


In keeping with the theme, I also made thank-you cards for the new mom so that she didn't have to worry about buying them in between feedings.


Finally, on to the kitchen, where I made edible dreidels for Chanukah and pretzel buttons for Christmas.


Push half a pretzel stick through the top of a marshmallow.
Roll the marshmallow in melted chocolate.
Use the melted chocolate to "glue" a Hershey Hug to the bottom of the marshmallow.
Decorate with Hebrew letters, edible glitter, or anything else your heart desires. 
The Star of David treats were modified from this recipe.
Place a candy melt in the middle of each butter snap pretzel.
Place into a WARM (not hot) oven.
Once melted, add sprinkles. 

These last few months have been crazy busy, but making time to create goodies for friends reminded me of how important it is for me to include crafting as a more regular activity in my life. If I've learned only one thing this year it's that taking time to do what makes me happy - from reading to crafting - is even more important during those periods of life when it seems as though I have no time to do so.

I hope you all had wonderful holidays full of things that make you happy!

Tuesday, July 17, 2012

Take-the-Cake Tuesday: Hubby Nails the Art of Faux Stained Glass


There are many things about my husband the average person doesn't know. Like how he makes the best grilled cheese sandwiches. Or how he converses with the cat when he doesn't think I'm listening. Or that he could totally win Craft Wars.

Why do I think he could win Craft Wars? Not because he's the best crafter out there (sorry, babe) but because he is the most determined. A few years ago, Allan really wanted a Dr. Who scarf, circa Tom Baker. (Did I get that right? If so, I should get wife brownie points.) Those scarves, though? Ridiculously expensive. So Allan decided he would make one. Come again? I asked. But he had it all planned out - YouTube knitting tutorials, patterns, color swatches - he was determined. And you know what? He did it.
Sniff, I miss my old home office.

As if that's not impressive enough, Allan's most recent crafty endeavor was so good that I actually asked him to hijack my blog for the day. So without further ado, I introduce Allan (aka Hubby):
***
So, today is my chance to do a little guest-blogging.  It’s not often that I get crafty, or at least blog-worthy in my craftiness, but Cher liked this project, and it came out OK.  First, a little background.
This project was borne of a couple of facts that are pretty fundamental to me.  One, I get bored during the summers.  Two, I get distracted by passersby.  I teach at a small women’s college here in Columbia, SC, and at the early part of the summer, right before I finished my summer teaching and before I was faced with nearly three months down-time, I changed offices.  My new office is attached to a resource center (I’m the new director, thus the new digs), and as such it has two doors:  one leading into the center, which is usually open when I’m there, and one facing the walkway/lobby of the library basement where the English department (my department) is located.  No, I don’t train slayers, as Julie Kagawa once suggested to me.  But I do prepare young women for equally frightening thinks:  teaching English.
Anyway, the door facing the basement lobby (and the stairs leading down to it— a really busy area) has one of those windows that is large enough to see into but small enough that, if you really want to check out what’s going on inside, you have to leer into.  This freaks me out to no end, so I thought I would kill two birds, as it goes, by making a little project for myself to stave off the summer blahs and also obscure myself from lookie-loos and vice versa.  Obviously, faux stained glass was the first thing to come to mind.
I’ve actually wanted to do this for a while, but never really had a window to do it on.  The supplies were pretty reasonably priced and the work not that difficult (even I could do it!), and it was a lot of fun.  Here’s how it went down:
I started off by making a template in the shape of the window I was covering.  I stole found images from online and grafted them together on the computer until I was happy with the design.  You can see the template, taped behind the work surface, below:

The next step really appealed to my OCD, as it allowed me to be meticulous without really having to be exact.  Using the black lines on the template as rough guides, I used Plaid’s Gallery Glass® Redi-Lead™ lines, thick for the nail and outlines, and thin for the random shapes in the fill areas.  I trimmed as I went with a craft knife, and by the time I was done I felt like a pro.  Definitely something you get better at.  In the first image below, you can see how I used the thick led lines to shape and, in some areas, shade the central images:


Here is the completed window, with the template still in place.  You can tell, especially at the bottom, how the template was really more like a “suggestion” for where to place lines:


Here’s the finished lead lines sans template, but before touch-ups:


Gallery Glass ® also makes something called Liquid Leading™, ostensibly for doing free-form lines, but I used it to connect my less-than-perfect sections:


Again, I like the detail work of using a craft knife, though I’m hardly good at it.  In the picture above you can see the excess fills on the glass, and me trimming below.  Also below, I did a test run of the first color of stained glass.


After all the leading was done and I was satisfied, I started to fill in with color.  Choosing the colors was pretty easy.  Thinking of this as a crest-like window, I surrounded the grey nail with orange (actually, amber) and two shades of blue (sapphire and blue diamond) to represent my Gator bona fides.  All using Gallery Glass ® Window Color™, though only because that’s what Michaels has.  I’m no brand whore.
Here’s the start of the orange.  I wanted this as more of a contrast color, so I kept it minimal:


Surprisingly, the filling in was one of the hardest parts, if only because I kinda had to guess at which colors to use where.  As you can tell in the pic below, the colors are a lot more opaque when wet than dry.  I would end up having to put at least two coats on, and I ended up doing only a few shapes at a time, so I could see how they looked dry and decide what color needed more, and where.


I actually have some experiences with real stained glass, though I can’t say it helped me with this.  My father is a Presbyterian minister, and at the church I grew up in, there were these hundred-year-old stained glass windows.  This is how I decided to mix the blues— I remembered as a kid noticing that solid colors were never really solid, but rather a mix of similar shades, even within the people depicted.  Slowly, my fake window took shape:


Another thing I remembered vividly from the windows in my dad’s church, was that because of their age, dad oversaw a restoration.  Glass, since it’s technically a liquid, moves down.  We can’t see it, but after a good many years, stained glass has to be, well, adjusted.  I had a similar problem that you can see in the picture below.  I picked Columbia College’s colors as the trim, and the purple rectangle at the top right has dried— but not before most of the paint collected at the bottom of the section.  Not a problem, in that nothing ran outside of the led lines, but it did necessitate another coat, and after awhile I became somewhat expert in putting the paint thickly at the top and letting it run down to fill.  This is the finished product from the inside of the door (minus touchups):


And here’s what most people see when they walk by my outer door:


Not bad, and the comments people have had (and shared to my face) have been positive.
This has been a long post, so thanks for sticking with it if you did. Usually it takes people a while to realize that they’re looking at a nail in the window, then a few more moments (sometimes not at all) to realize why.  I’d originally wanted to do a version of the 70s era Doctor Who logo, only with my last name instead of “Who,” but the image was too complicated to be done on such a small window.  Oh well, maybe next time.
Cheers!  
***
Today, Allan, I raise my fork to you. You take the cake.

Tuesday, July 03, 2012

Take-the-Cake Tuesday: Crafty Comrades


Welcome to a new weekly feature at Take a Second Glantz!
Every Tuesday, I'll celebrate a few(ish) things that really take the cake.

It's no secret that I have a lot of crafty comrades. Today's episode of TtC Tuesday celebrates some of their handiwork.

Laurie made an awesome wreath to celebrate the Fourth of July. I'm not a huge Independence Day decorator, but I really dig this. I'm thinking about making one of these for the door of my religious school classroom, wrapping the wreath in white rope and decorating it with one American flag and one Israeli flag.

photo from Laurie's Instagram

Kati made an amazing map craft, representing her family and the places they come from, for her mom's birthday. I'd really like to make a layout like this to document where my parents and I were born.

photo from Kati's blog post

Sarabeth made these lovely corner bookmarks that are great alternatives to more traditional place holders. I'm going to have to try her tutorial during my next rainy craft day.

photo from Sarabeth's blog post

Today, ladies, I raise my fork to you (and your mad crafting skills). You take the cake.

***
There's still time to win: Comment on my 300th post by July 9th to be entered in a drawing for a $10 B&N gift card!

Monday, June 18, 2012

Crafting outside the box

I've always considered myself to be a "traditional scrapbooker." Sure I've made picture frames and even a clock, but I tend to stay within the confines of my comfortable little box. As I was organizing my craft space this weekend and finding space to display a few projects, I realized that I've been stretching the walls of that box a bit over the past few months and wanted to share the fun I've had doing so.

Last year, I was encouraged by Sarabeth to try my hand at ATCs in a challenge she hosted. My assignment was to create an "E" card that, once put together with the other ATCs, would spell out "BELIEVE." The word made me think of one of my favorite Broadway songs, "Defying Gravity," so I  cut out the E from a sheet of the repeatedly typed phrase "Defy gravity." Inspired by the musical further, I used a glittery green background and attempted to make the E look like it was defying gravity itself. My plan is to frame the ATCs so that I can 1) have a pretty reminder to always believe and 2) remember how much fun it can be to craft outside my comfort zone.


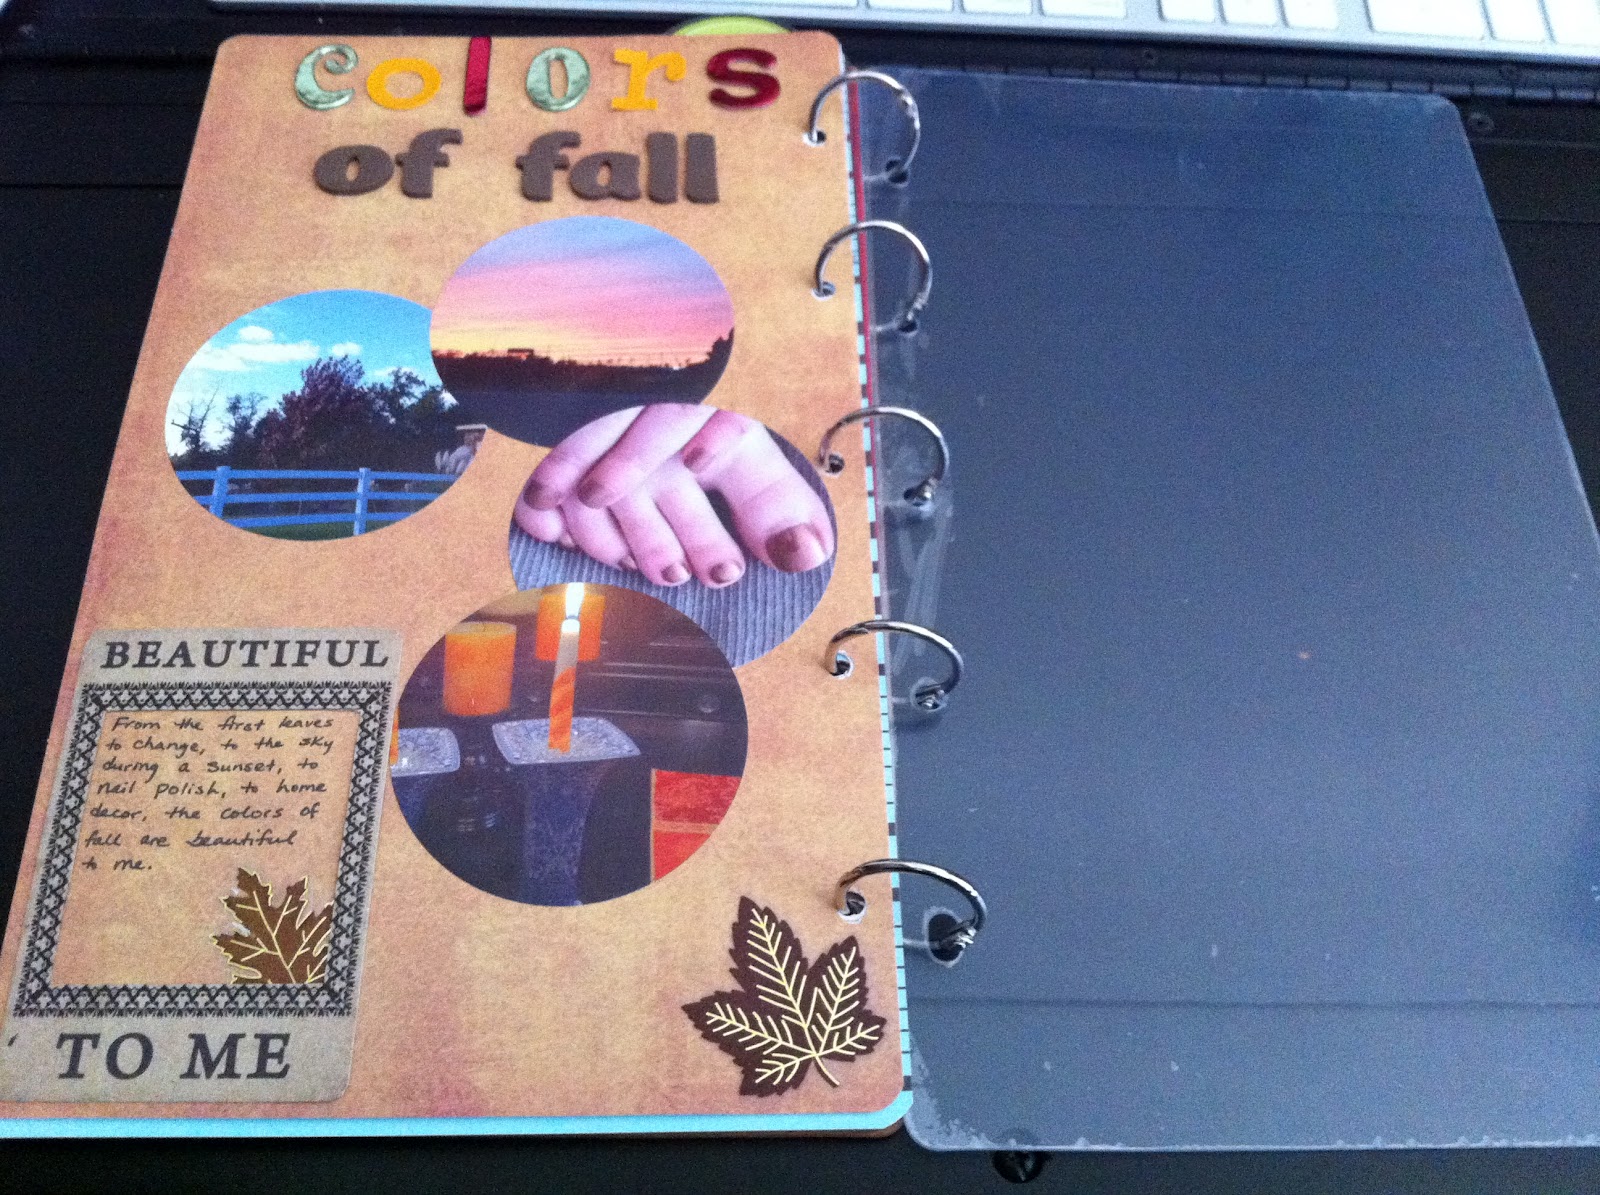
Inspired for years by Kristen's fall journal, I finally tackled one of my own last year. The outlandish-for-me thing about it? It's - *gasp!* an acrylic album, the edges of which I "painted" with a stamp pad. I really love the way it came out... if only I would finish it before this fall!  


A surprise to myself, I broke out the modge podge and acrylic paint to pretty up the American Crafts album that houses my Project Life.


And perhaps most shocking of all is my decision this weekend to make a no-album scrapbook. Wanting to keep track of the items on my bucket list that I wind up doing, I decided to forgo the traditional album and use an actual bucket to store chipboard LOs about my bucket-list adventures.


Though I'll probably always lean more toward the traditional side of the arts & crafts world, it was fun for me to see that I can craft outside the box when inspired.

Friday, May 25, 2012

Pinterest Show and Tell

A few months ago I discovered this wonderfully horrible time-suck known as Pinterest. I found all these amazing recipes to try, projects to make, and words to live by. Pinning quickly took place of tweeting, and just as Twitter eventually made me feel guilty about all the books I wasn't reading or the manuscripts I wasn't writing, Pinterest made me feel guilty about all the layouts I wasn't scrapping and all the cookies I wasn't baking.
image source

Last week, I finally popped my Pinterest cherry and tried not one, but TWO of the ideas that I had pinned forever and a day ago.

First up were cheesecake-filled strawberries that I made for an oneg. The filling was ridiculously easy to make (and it was DELISH), but the actual act of filling them was a bit more complicated. If I ever make these again, I'll hollow out the strawberries a bit more and also use an actual piping tip. The only drawback was that the leftovers didn't hold up well; these are meant to be eaten right after they're made.

A few days later, I tried my hand at birthday decor made of photographs. This was a somewhat laborious project, but I absolutely LOVE how it turned out (if I do say so myself).


While I'm not masochistic enough to promise that I'll use the inspiration from Pinterest to actually DO more in the future, the fruition of these two projects has encouraged me to hopefully have a few more show and tells before the year's end. 

If you're a "pinner" and want to exchange ideas that we may never try, you can follow me here.

Wednesday, April 28, 2010

WordFUL Wednesday: The Etsy Edition

Wordful Wednesday is sponsored by:


Ever since I asked you guys about your expectations as a blog reader, I've been thinking about the reason I blog (more on that later), which led me to think about the reasons I do other things: write, scrapbook, list things on Etsy.

This is the Etsy post.

Growing up, I watched my dad make all kinds of things with his hands, from models to jewelry. I remember watching him as he wrapped wire around gemstones, wondering where he drew both the patience and inspiration. Though the hobby fascinated me, and I thought one day I might like to try turning the pretty beads our local craft store had to offer into something cool, my time and money was always spent scrapbooking.

It was when I was brainstorming what to make for my mother-in-law for our (semi-)handmade holiday that I first started dabbling in bead work. All it took was making a few wine charms, and I was hooked. The problem is that you can only make so many gifts for your friends. In my mind, I needed a reason to justify my supply purchases; I needed a reason to litter my craft studio with beaded drink markers and keychains and bookmarks (oh my!). So I started an Etsy shop.

I really don't make much money on it. In fact, at this point, I'm far from breaking even. This is partly because I'm terrible at self-promotion. While I have the means with my many social media outlets, I feel guilty pimping product to my friends. I also, quite honestly, need to work on taking better pictures to adequately capture the colors and detail of each piece.

The bottom line is I have the best time making this stuff (I don't think playing with Twilight, True Blood, and Florida Gators supplies will ever get old), and attempting "to Etsy" (if Google is a verb, why can't Etsy be one?) gives me permission to keep playing.


Disclaimer: the rest of this post is one of those self-promoting, shamefully shameless (how's that for an oxymoron?) plugs that I hate so much.

Through May 2, I'm running a Mother's Day special: any "Gifts for Her" purchase includes complimentary gift wrap and a handmade card.

You can follow Second Glantz Crafts on Twitter for the latest listings, sales, and promotions.

And end shameless plug.

Monday, March 22, 2010

Trubie update

With all the insanity that is my life, I've been remiss in sharing with you the "bloody" goodness that's been happening at The True Blood Challenge.

We have two challenges going on right now. Winners will receive fabulous handmade True Blood goodies. Click on the links below for details and to see the design team submissions.

What was the most memorable episode of Season 1 for you?


Graveside romance and Eric in a bathtub. What can beat that?

What will happen to Bill and Sookie's relationship?


Perhaps it's wishful thinking, but I'd like to see Eric get in the middle of those two.

The Week 1 and Week 2 challenges have already closed, but the submissions we received are too good not to share. Again, click on the links below to see the design team submissions, as well as the winning entries.

Show your love of True Blood.
See the winning design here.


This will be a great page in my section of our All About Us album.

Team Bill vs. Team Eric
See the winning design here.


It's no secret whose team I'm on. Eric is more fun. If I want a nice vampire, I'll look for Edward.

We hope you'll stop by and maybe even take a bite out of a challenge.